

My Scrapbooking Tips

Visit my YouTube Channel and SUBSCRIBE, please! https://www.youtube.com/c/PatSkeatsMeandMyCricut
If you are a fan, then join my NEW Facebook GROUP for scrapbook ideas! https://www.facebook.com/groups/meandmycricut.comfans
These tips are for beginners or anyone having problems. I am trying to address the questions that I am getting and be of some help.
Paper Selection
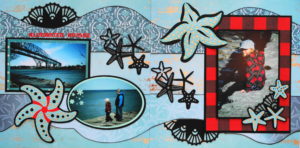
When your photos are in pastels, stay there with all your colour and pattern choices. You can pop things with white or a little black or a deeper tone of one of the shades ( if it does not make an airy page look too heavy)
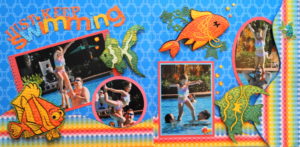
When your photos are Primary colours, stay there with your paper selections. You can pop things with black or white.
When your photos are in the dusty tones, stay there with your paper choices. You can accent with black or white or a deeper shade of one of the colours.
When your photos are in deep tones of colours, stay there with all your paper colours and you could accent with black or white.

When your photos are in medium tones, stay there with all your paper choices. Are you getting it?
When you are working in a monochromatic colour scheme, it is necessary to mix some tones in the one colour.
When you are working with black and white, you can add any colour to really make the page pop.
If you are Canadian and would like Creative Memories products, here is a link to my CM site https://www.creativememories.ca/cm/PatSkeats
Coordinating Patterns
You can coordinate any large pattern with a medium pattern, and a small pattern, and a stripe, and a chevron, and a polka dot, and a texture and a solid. You can leave out any of these. I use anywhere from 3 patterns to 6 or more in combination on any given page.
If you are Canadian and would like Creative Memories products, here is a link to my CM site https://www.creativememories.ca/cm/PatSkeats
Visit my YouTube Channel and SUBSCRIBE, please! https://www.youtube.com/c/PatSkeatsMeandMyCricut
If you are a fan, then join my NEW Facebook GROUP for scrapbook ideas! https://www.facebook.com/groups/meandmycricut.comfans
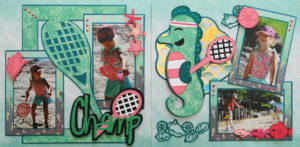
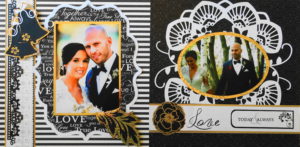
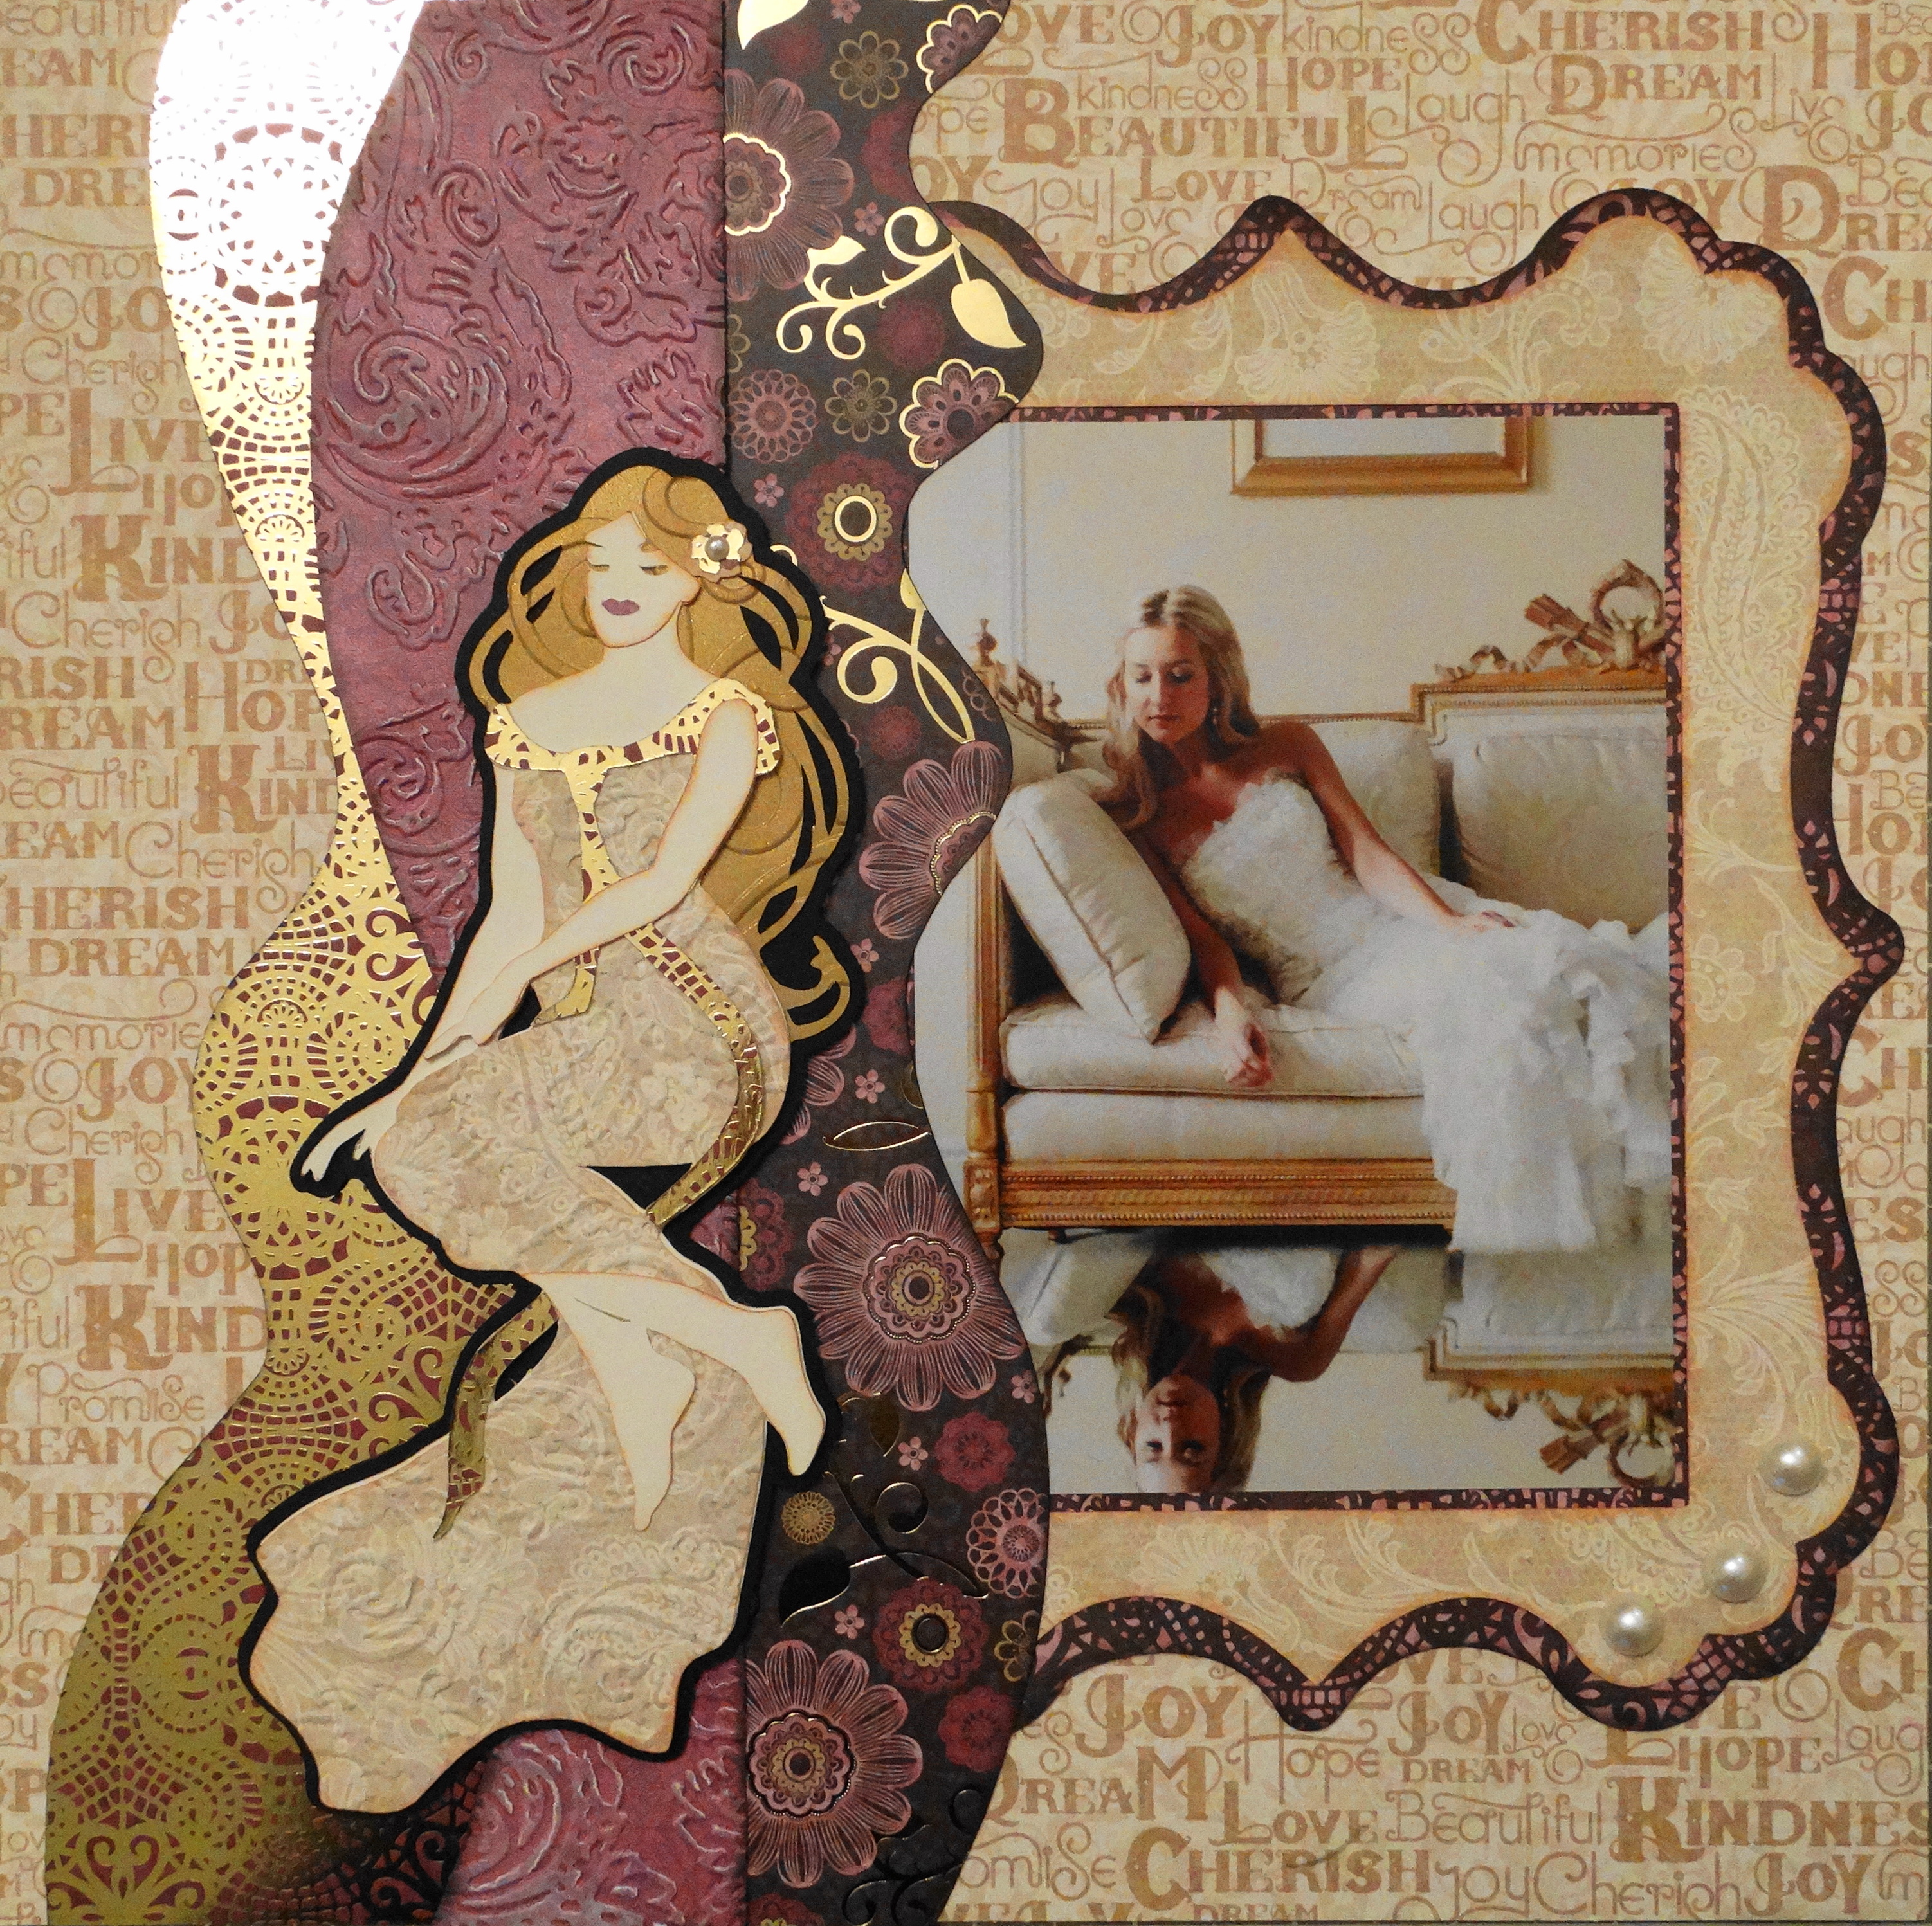
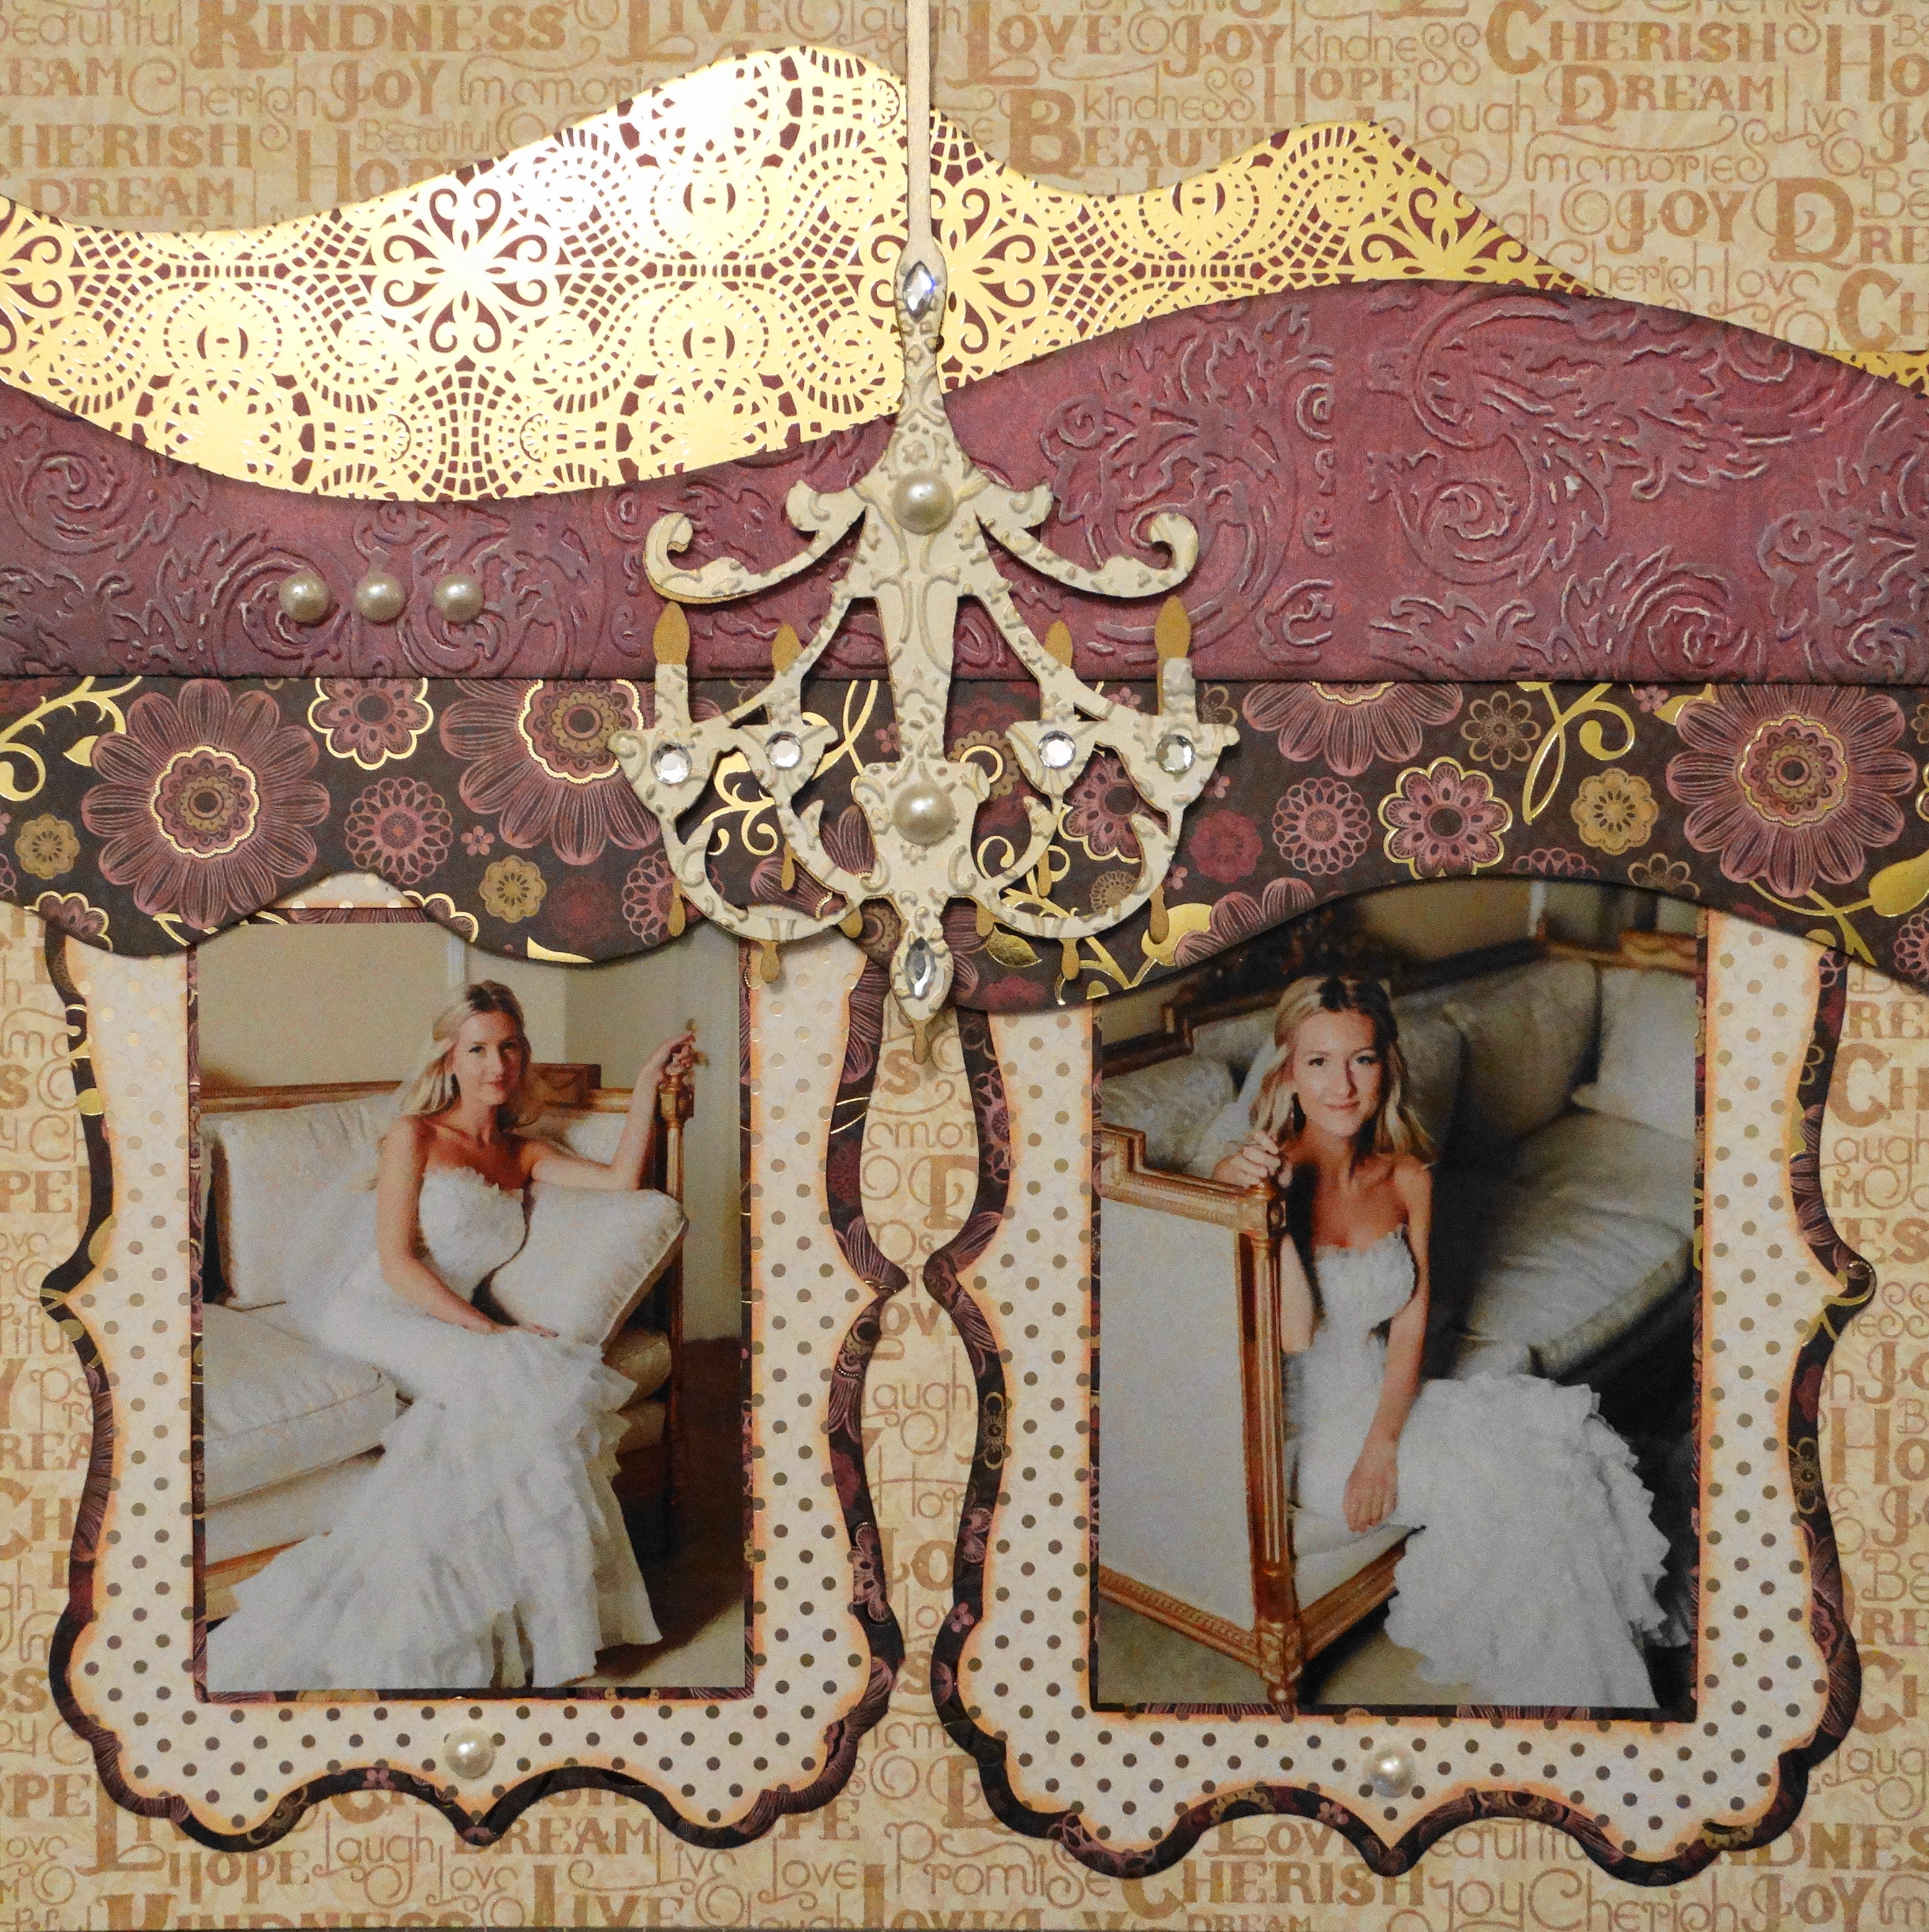
Picking coordinating patterns for Kiwi Lane 2 page layouts
You will need to select 4 different papers. (See the pages below)
1. Pick a beautiful larger multi-coloured print that you love. (black print with purple, gold and pink flowers from the photo below)
2. Pick a background paper in a contrasting colour with a muted pattern, not too busy. (Cream paper with gold lettering from the photo below)
3. Pick a smaller print, or polka dot, or stripe in one of the colours that are in your large multi-coloured paper. (Gold print with purple)
4. Pick another smaller print or texture in a different colour that is in your large print paper. (Purple damask print that I embossed and inked)
ALWAYS put your first and largest patterned paper on top, so it is cut in the smallest strips.
After you have done it a few times you will get the hang of it and start changing it up on your own.
If you have trouble selecting and coordinating patterns, try picking all the papers for a page from the same stack or pad of paper. They usually are all coordinates for each other already.
When I was writing this, I had Wedding Album 4, pages 8 & 9 in front of me, so refer to that page which is below to help you see what I am trying to explain.
Selecting Your Background Papers
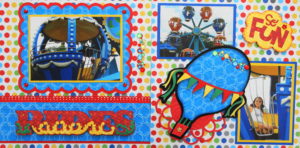
I stopped using solid colour background papers all the time when I noticed that all of my pictures instantly came alive and seemed to look like they had depth or were 3D whenever I placed them on patterned paper.
If you are Canadian and would like Creative Memories products, here is a link to my CM site https://www.creativememories.ca/cm/PatSkeats
Visit my YouTube Channel and SUBSCRIBE, please! https://www.youtube.com/c/PatSkeatsMeandMyCricut
Join my NEW FACEBOOK GROUP for scrapbooking! https://www.facebook.com/groups/meandmycricut.comfans
Photography Tip
TURN OFF YOUR FLASH!!! You don’t need it – even inside. Try it you’ll like it.
Photo Printing Tip
Every 100 pictures or so you have 1 that is absolutely beautiful. When that happens- blow it up and get it printed in a 5×7 and feature it. It is a special moment and worth it.
If you are Canadian and would like Creative Memories products, here is a link to my CM site https://www.creativememories.ca/cm/PatSkeats
Join my NEW FACEBOOK GROUP for scrapbooking! https://www.facebook.com/groups/meandmycricut.comfans
Photography Tip
Get closer to children, and when you think you are close, get even closer to capture the expressions on their beautiful faces.
If you are Canadian and would like Creative Memories products, here is a link to my CM site https://www.creativememories.ca/cm/PatSkeats
Join my NEW FACEBOOK GROUP for scrapbooking! https://www.facebook.com/groups/meandmycricut.comfans
Fix Your Pictures
Invest in a program that will fix up your photos and learn how to use it. Most people already have one on their computer and just don’t use it.
If you are Canadian and would like Creative Memories products, here is a link to my CM site https://www.creativememories.ca/cm/PatSkeats
Visit my YouTube Channel and SUBSCRIBE, please! https://www.youtube.com/c/PatSkeatsMeandMyCricut
Join my NEW FACEBOOK GROUP for scrapbooking! https://www.facebook.com/groups/meandmycricut.comfans
Scrapbooking Tip
You do not have to scrap every photo you take. They are all preserved forever anyway, in this digital age. Just scrap the best ones and leave space on the page for cute or funny or beautiful images also. I love my Cricut images. They inspire me the most. I find that my grandchildren love to look in the albums because they are fun. Adults like them also because they are not boring. Every time you turn a page it is a total surprise.
If you are Canadian and would like Creative Memories products, here is a link to my CM site https://www.creativememories.ca/cm/PatSkeats
Join my NEW FACEBOOK GROUP for scrapbooking! https://www.facebook.com/groups/meandmycricut.comfans
Scrapbooking Tip
There is only one rule in scrapbooking – Never let your tape or glue show!
Enjoy your creative license.
Join my NEW FACEBOOK GROUP for scrapbooking! https://www.facebook.com/groups/meandmycricut.comfans
Azza European Scrapbooking Template
I really liked the look of the Azza European scrapbooking, so I tried researching them and found that it was very difficult to order them for North America. I decided to try to make one and it worked. I found a design that I liked online and printed it full page, which came out 8 1/2″ x 11″. I scrapbook on 12″x 12″ paper so I taped it to the underside of a glass top table, facing up. I then put a desk lamp on the floor aiming up thus creating my own light table. I then placed a 12×12 sheet of thin white paper on top of the glass, centring it over the photocopy and taped it in place. I traced the photocopied image extending the lines out with marker until they were a full 12×12 page size leaving a 1/2″ border all around the page (so it was actually 11 1/2″ square). I then taped the 12×12 tracing to a 12×12 piece of thin cardboard. I used the back of a scrapbook pad of paper. I cut out all the holes with an Exacto knife and ruler or circle cutting tools. I now have a cardboard template that I can reuse as often as I want. I can flip it or turn it around to make a 2-page layout. It was a project, but I have the template forever. I have made 4 so far.
I have told many of my nieces to get a scrapbook album to keep at their home and when I scrapbook pages with pics of them, I give those pages to them. So over the years, they will have albums to treasure and they get unexpected gifts from time to time. Just an idea.
A great thing about being a scrapbooker is that your family stops sending you those tiny 2 x 3 school pictures. Now I get the 5 x 7s!
My New Facebook Groups
Here is a link to my NEW Scrapbooking Facebook GROUP Me and My Cricut. I am looking forward to seeing the pages that my website has inspired you to create. I will be posting there also and you can ask me questions. Please join and invite friends who are fans to join also.
https://www.facebook.com/groups/meandmycricut.comfans
This is a link to my 2nd Facebook Group Cricut Links to Design Space. This group is for those who wish to save page layouts or card ideas OR to share their creations with others.
If you are Canadian and would like Creative Memories products, here is a link to my CM site https://www.creativememories.ca/cm/PatSkeats
Visit my YouTube Channel and SUBSCRIBE, please! https://www.youtube.com/c/PatSkeatsMeandMyCricut
Printing Panoramic Photos
It is becoming more difficult to get these printed and it always was expensive. I discovered that on my computer Program – Windows Live Photo Gallery – that it lets me crop the panoramic prints into 3 sections as 4×6 prints – never a problem as I print the 3 sections as 4×6 pictures and scrap them together. Way cheaper too!
If you are Canadian and would like Creative Memories products, here is a link to my CM site https://www.creativememories.ca/cm/PatSkeats
Join my NEW FACEBOOK GROUP for scrapbooking! https://www.facebook.com/groups/meandmycricut.comfans
A Tip For Your Cricut Cutting Mat
Clean your Cricut mat with warm water when the paper no longer sticks. You can gently scrub it with a plastic scrubby and rinse. Let it air dry well before using it again. This will only cost you pennies and works like a charm! I find that I can clean a mat only once for extra use before having to replace it.
How to Calculate the Size of a Cut
If you have a Cricut Expression machine you can figure out what size you need to make your cut to get the image the size you want by doing the following:
- Load the mat into the Cricut – it will not work if the mat is not loaded.
- Press the image key that you want to cut
- Press the “Fit To Page” key
- Watch the screen as it calculates the size for a 12″ page
- That is the size for a 12″ page. If you want the image to be half of that or 6″ wide, then cut that size in half, for 8″ wide, then cut it at 2/3 of that size.
- TURN OFF THE FIT TO PAGE and reset the size to what you need.
If you are Canadian and would like Creative Memories products, here is a link to my CM site https://www.creativememories.ca/cm/PatSkeats
Visit my YouTube Channel and SUBSCRIBE, please! https://www.youtube.com/c/PatSkeatsMeandMyCricut
How to set up the Cricut Explore Machine
It would seem there are many of you who own a Cricut and are at a loss as to how to use it. This makes me sad since it is so much fun to use. This is how I learned. I watched “Setting up the Cricut Explore One” by Melody Lane on YouTube. In 5 minutes you are ready to go. Then I watched The Complete Guide to Cricut Design Space – YouTube by Melody Lane. I could pause it to copy what she was doing whenever I needed to. I learned what I needed to know, to do what I want to do from those videos. I only watched enough to teach me how to cut with my machine. It was so easy, that I could not believe that I was so scared to try it!. I hope this will get you started.
If you are Canadian and would like Creative Memories products, here is a link to my CM site https://www.creativememories.ca/cm/PatSkeats
Visit my YouTube Channel and SUBSCRIBE, please! https://www.youtube.com/c/PatSkeatsMeandMyCricut
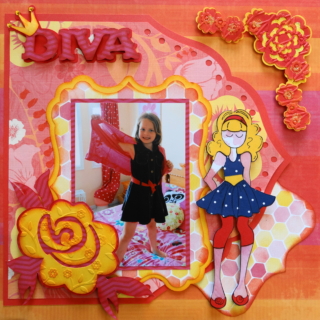
I have fallen in love with these recently, so you will be seeing more of them on my scrapbook pages. You stamp the doll on the skin coloured paper, then the hair coloured paper, then the dress patterned paper, then the shoe coloured paper. You then cut out all these parts with scissors and reassemble them on the skin coloured stamped doll. Most people stamp them on cream paper with writing on it for the skin colour. I have played around and find I prefer to make them on black paper or watercolour paper in the tones that I am using for a page. I also like to add closed eyes ( that is easy) as they have no face. I enjoy creating outfits for them and have found that small prints work well, as the outfits and parts of outfits are quite small. It is sometimes easier to use a marker for hair bands and shoes. I have also done polka dots on the legs of little girls, to look like tights. I use a black marker or ink to outline the edges when I am done a doll.
Cricut Explore One
Cricut Explore Air
Cricut Explore Air 2
Cricut Maker
Cricut Design Space
Prepping For A Crop

Show Comments (0)
There are not comments on this post yet. Be the first one!